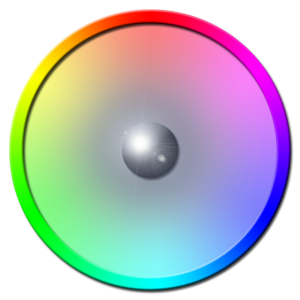
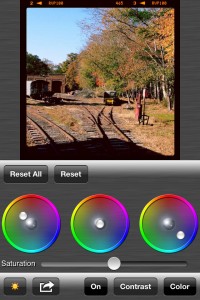
“Stolen” from Final Cut Pro (and everything else), my three-way color corrector wheel is possibly the most powerful and intuitive way to color issues. Yes it’s a bit of an acquired skill, but much less of one than looking at histograms. The flip side of that is that it’s not a precision tool. Either way, it can give amazing results.
The algorithm behind the wheels is surprisingly simple. From a high level, you have a location on a circle, or an angle and distance in polar coordinates. Translate that point into a hue and value and shift the channels accordingly and you’re done! One common complaint I receive about it though is that mine are too tiny.
I know.
Auto Adjust 4 is still in the design phase, as is an update to Normalize, both of which will feature a new solution to the color corrector wheels. But that’s not all. Auto Adjust 4 will make good on my promise to increases Auto Adjust’s power without dumbing down the UI (which is exactly what Normalize is).
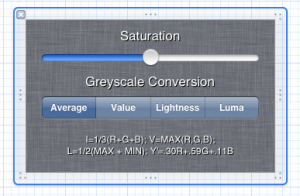
I don’t know if the algorithms will still be printed in the final version, but for those that don’t know, there are many ways to desaturate an image. The most common method is to average the 3 channels. This often results in a lot less contrast than the original image, and going back and adjusting the levels (contrast) is just lossy at this point. So, I’m introducing 3 commonly used alternatives for computing greyscale. The most accurate I’m offering is Rec. 709 luma (Y’) which is simply a weighted average rather than a linear average.
While this will have an obvious difference if you completely desaturate your image, this setting is actually going to permutate throughout the rest of the app. What other photo operations need to know brightness data?
HDR – If you think you’ve seen good HDR apps you haven’t seen anything yet.


